Getting data into Galaxy
How do I get my data into Galaxy? How do I get public data into Galaxy?
Many ways to get data into your workspace
- Import using Get Data sources e.g. UCSC, SRA
- Import from a Galaxy Data Library
- Import using Upload File
- Import from your computer
- Directly enter text
- Import from a URL
- Import using FTP
- Import directly into Collection
- Import using Rule Builder
Go Up
Best method depends on where the data is, and how big it is
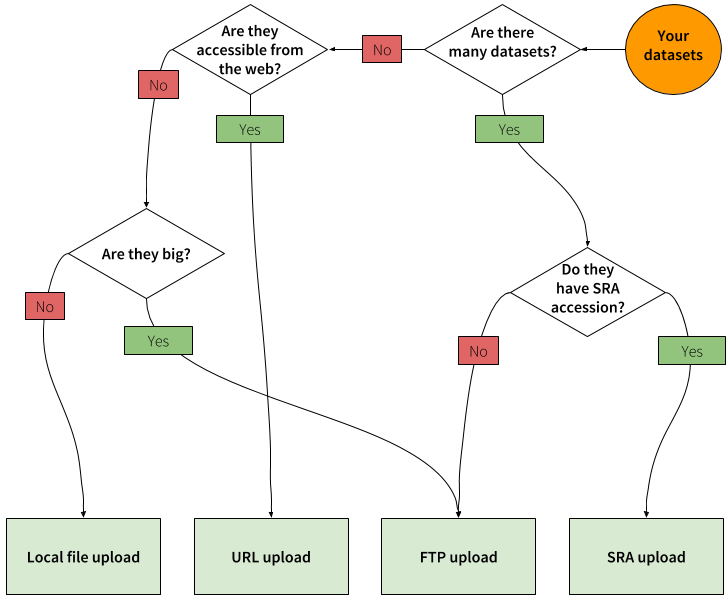
Go Up
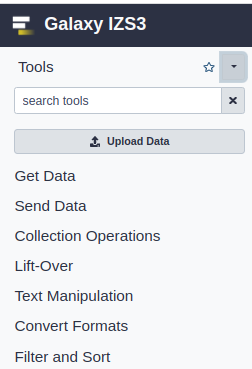
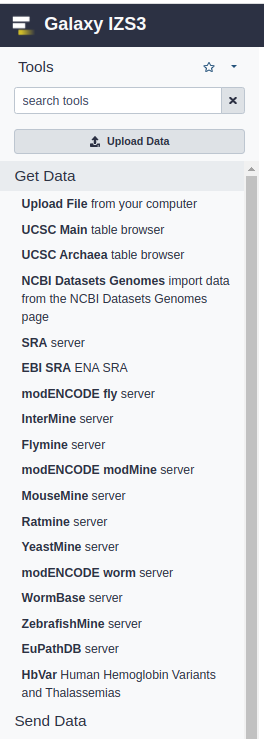
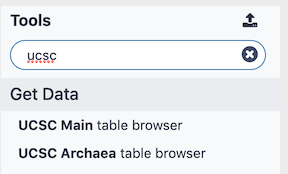
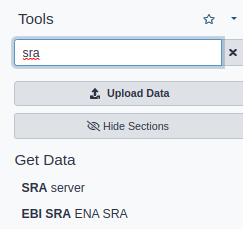
- Click on the Get Data toolbox in the toolbox (the left panel)
- Expands to show data sources
- The specific data sources available on your Galaxy instance are determine by the server’s administrator
- All of these data sources can bring datasets (files) into your Galaxy workspace (history)
- Two large data sources you can access through Galaxy are UCSC and SRA
Go Up
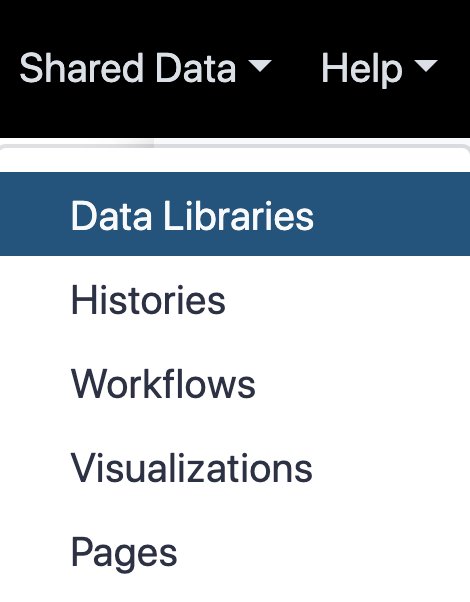
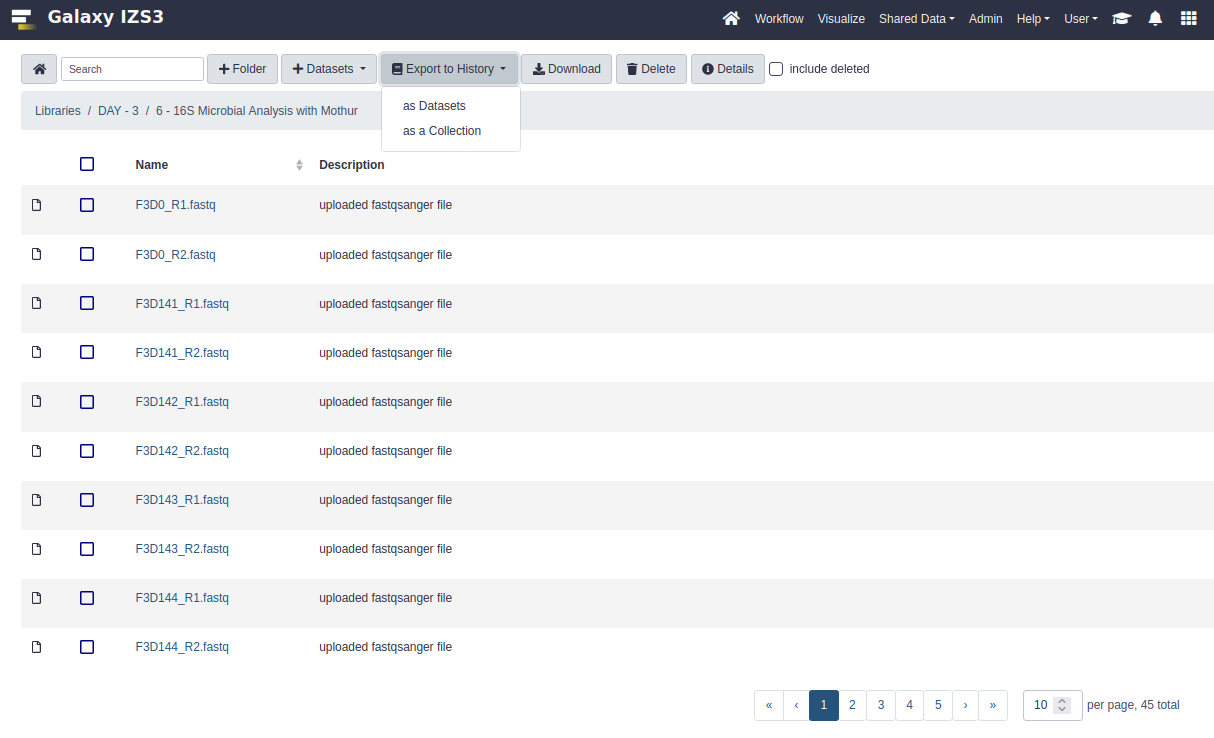
Import from Shared Data Library
- Top menu bar -> Shared Data -> Data Libraries
- Configured by a Galaxy Administator
- Can be imported directly into your history
Go Up
Upload from your computer
-
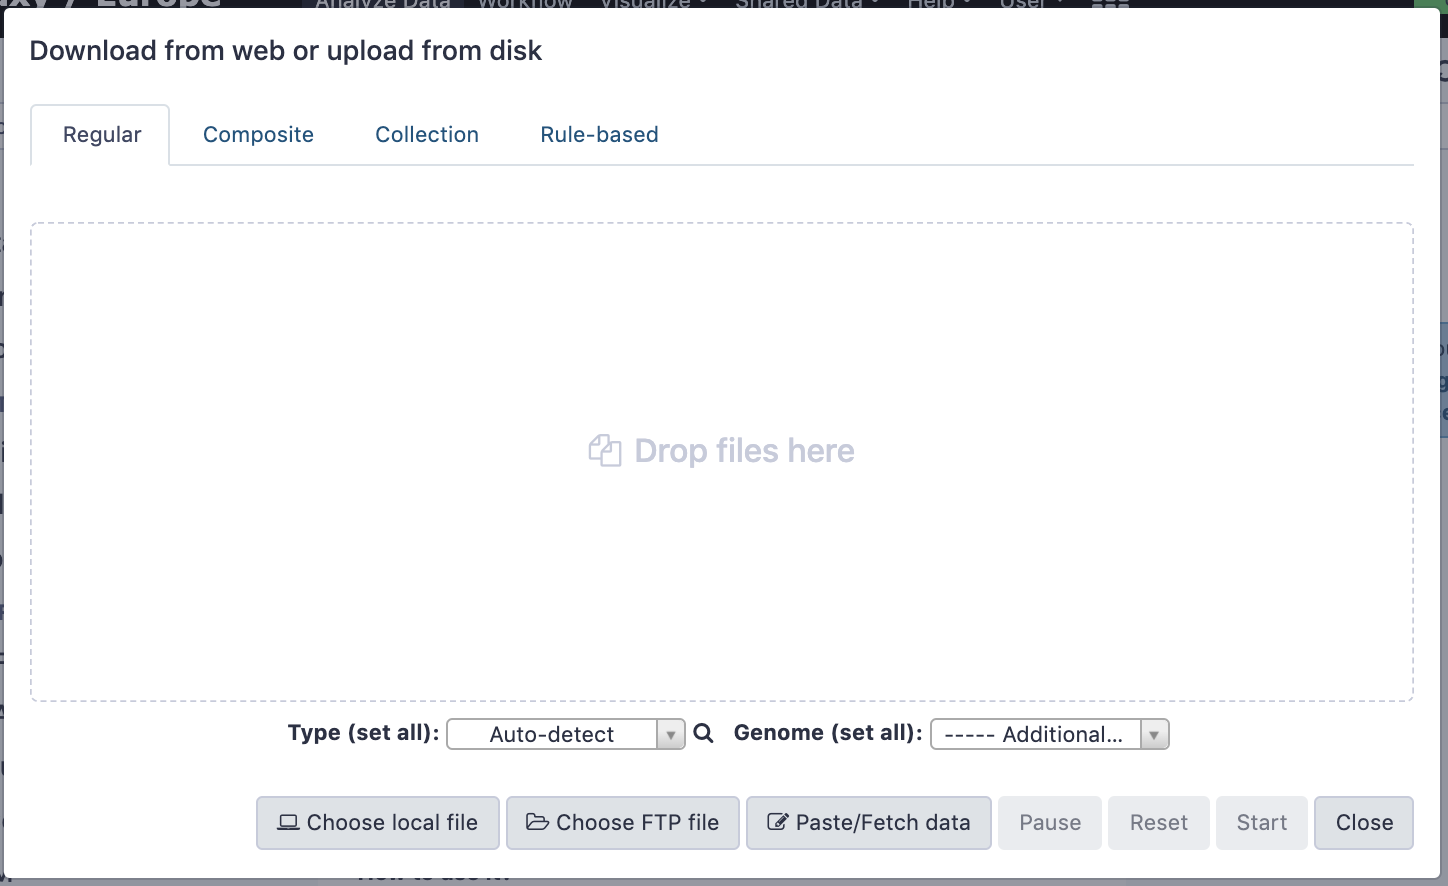
At the top of the Tools panel (on the left), click Upload
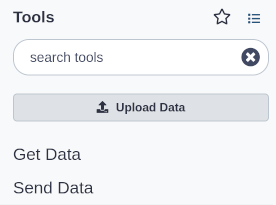 This brings up a box:
-
The Upload File data source can import data:
- from your computer
- by directly entering text
- using a URL
- and via FTP
Choose files
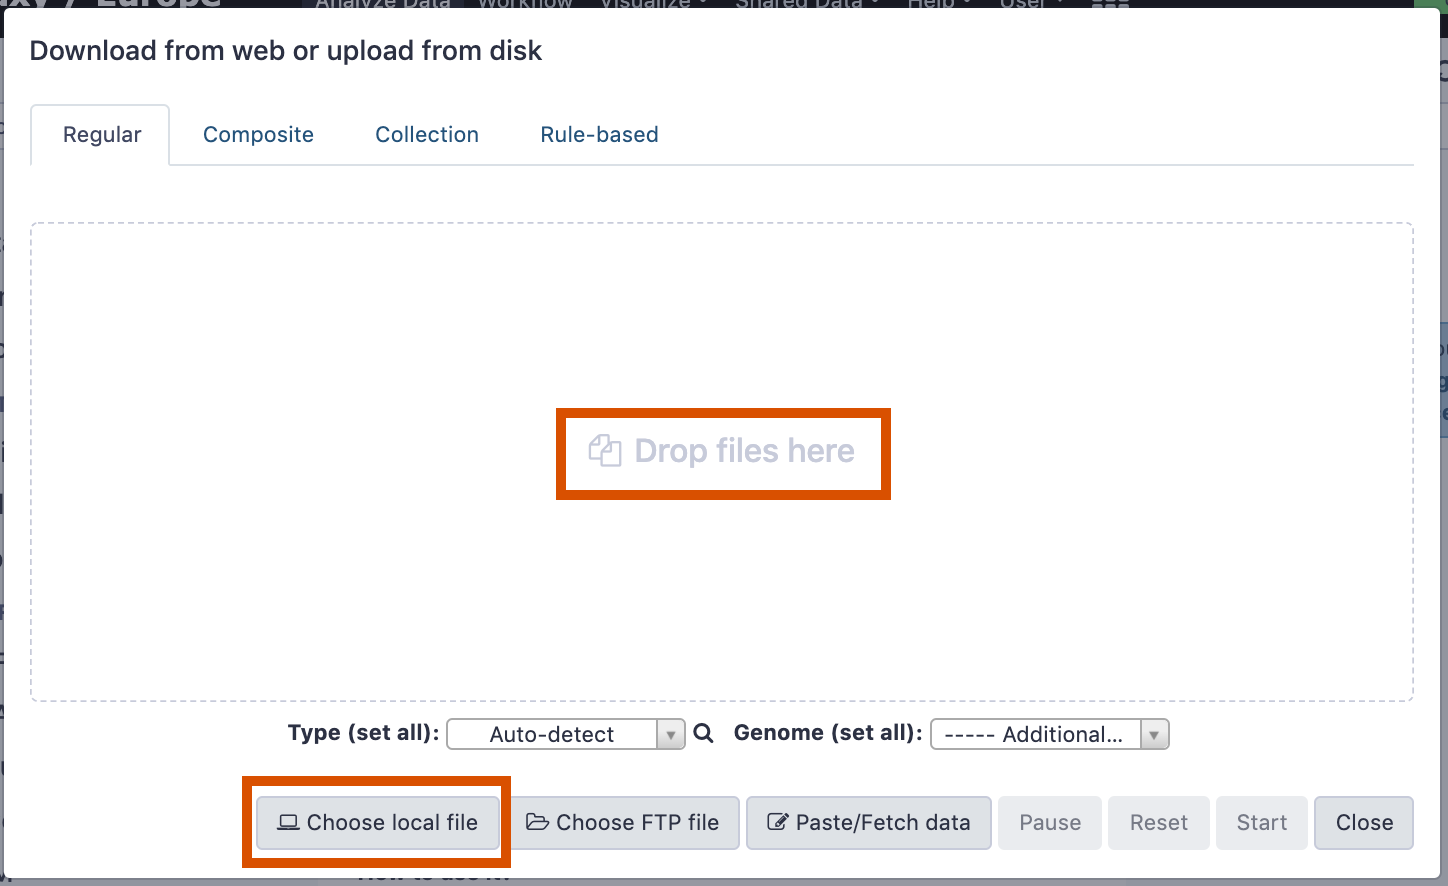
- Drag and drop is supported
- as is the standard file selection using your browser.
- Datatype (e.g. FastQ, VCF, BAM, tabular, ..)
- Galaxy will autodetect by default (sometimes guesses wrong)
- Genome Build (e.g. hg19, mm9, ..)
- must be set manually (can be done later as well)
- Click Start, and then Close, and the new items show up in your history with the URL as their name.
Go Up
Import using URL
The data might already be available on a web server somewhere.
To avoid downloading data to your computer and uploading to Galaxy in two steps,
you can instruct Galaxy to directly fetch the data from a given URL.
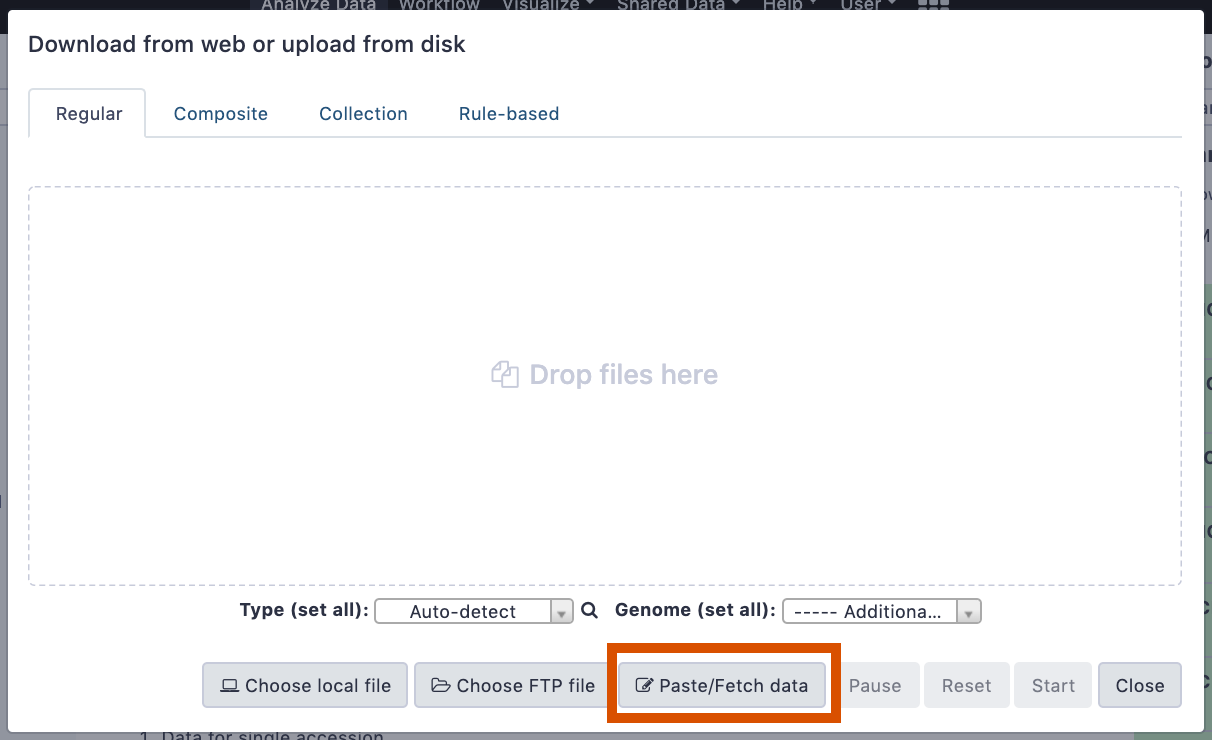
- Enter the URLs (one per line) into the input box:
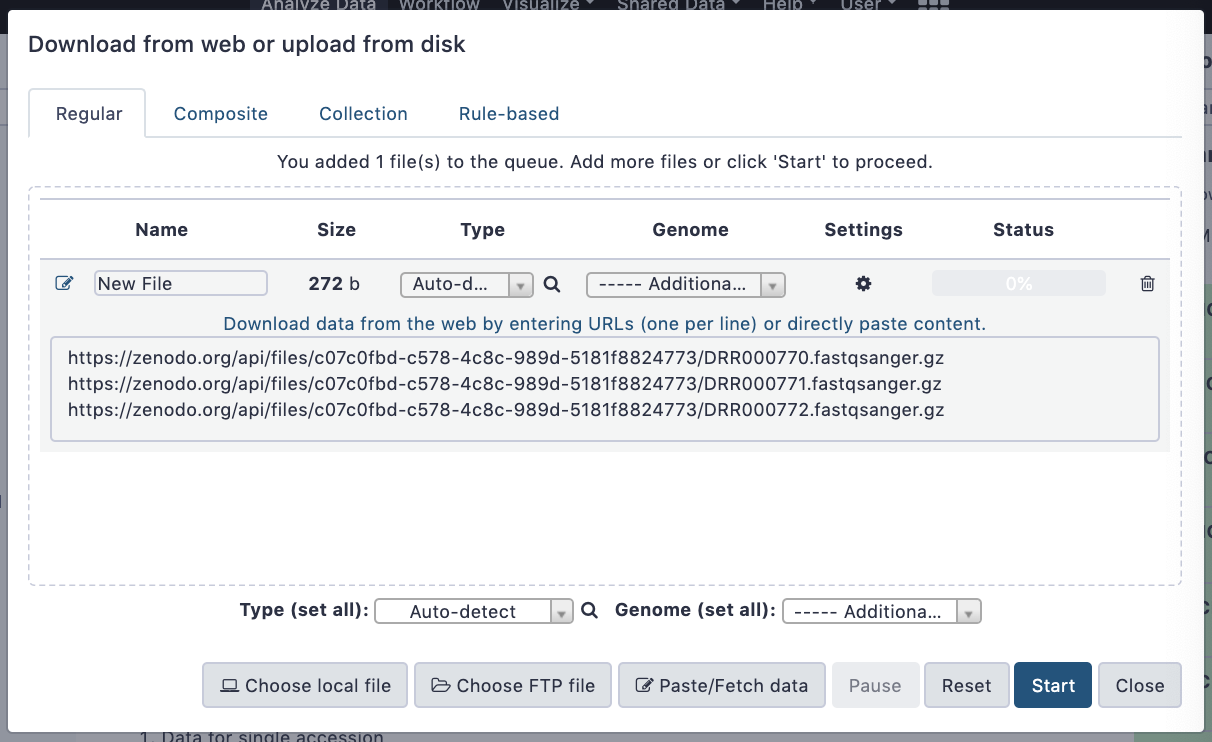
- Click Start, and then Close, and the new items show up in your history with the URL as their name.
Go Up
Import using FTP
- Why use FTP?
- Older Galaxies did not support uploading files larger than 2GB in size
- Many people are very comfortable using FTP to upload large datasets and you can sometimes resume interrupted uploads.
- How to use FTP
- The Galaxy server’s administrator must have enabled FTP on the server
- You will need to create an account on that Galaxy Server
- You will need to install FTP software, or to run FTP from the shell
Make sure you have an FTP client installed
- FileZilla is a free FTP client that is available on Windows, MacOS, and Linux
- There are many other options
- If you don’t already have an FTP client, download and install FileZilla.

Establish FTP connection to your Galaxy server
- Provide
- the instance’s FTP server name (e.g. izs3.crs4.it, usegalaxy.org, ftp.usegalaxy.eu)
- your full username (usually an email address) and password

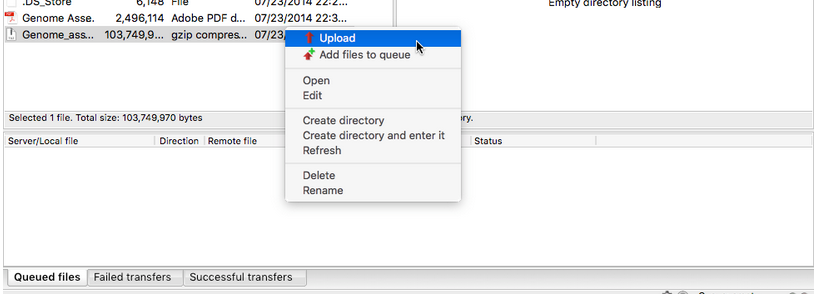
- Right click on the files and upload them.
Where did my files go?
- File Upload menu -> Choose FTP files
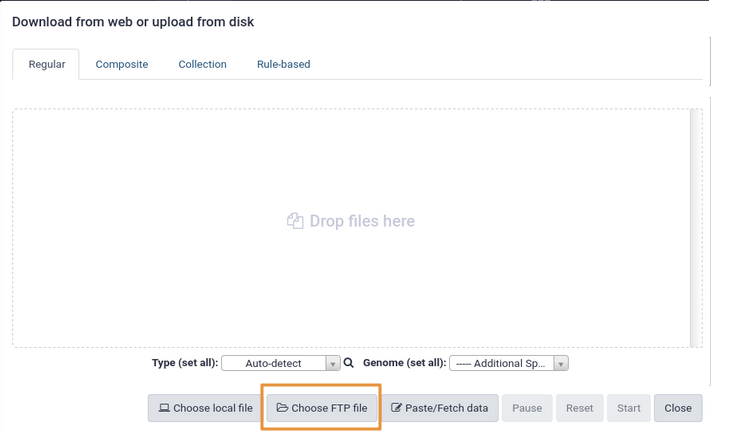
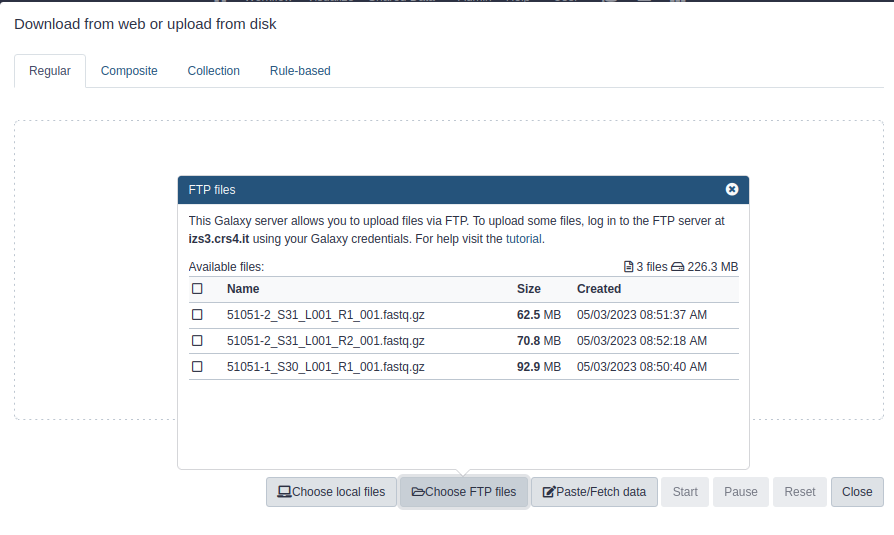
- Select files to import into your history
- Click Start
Go Up
Import directly into Collection
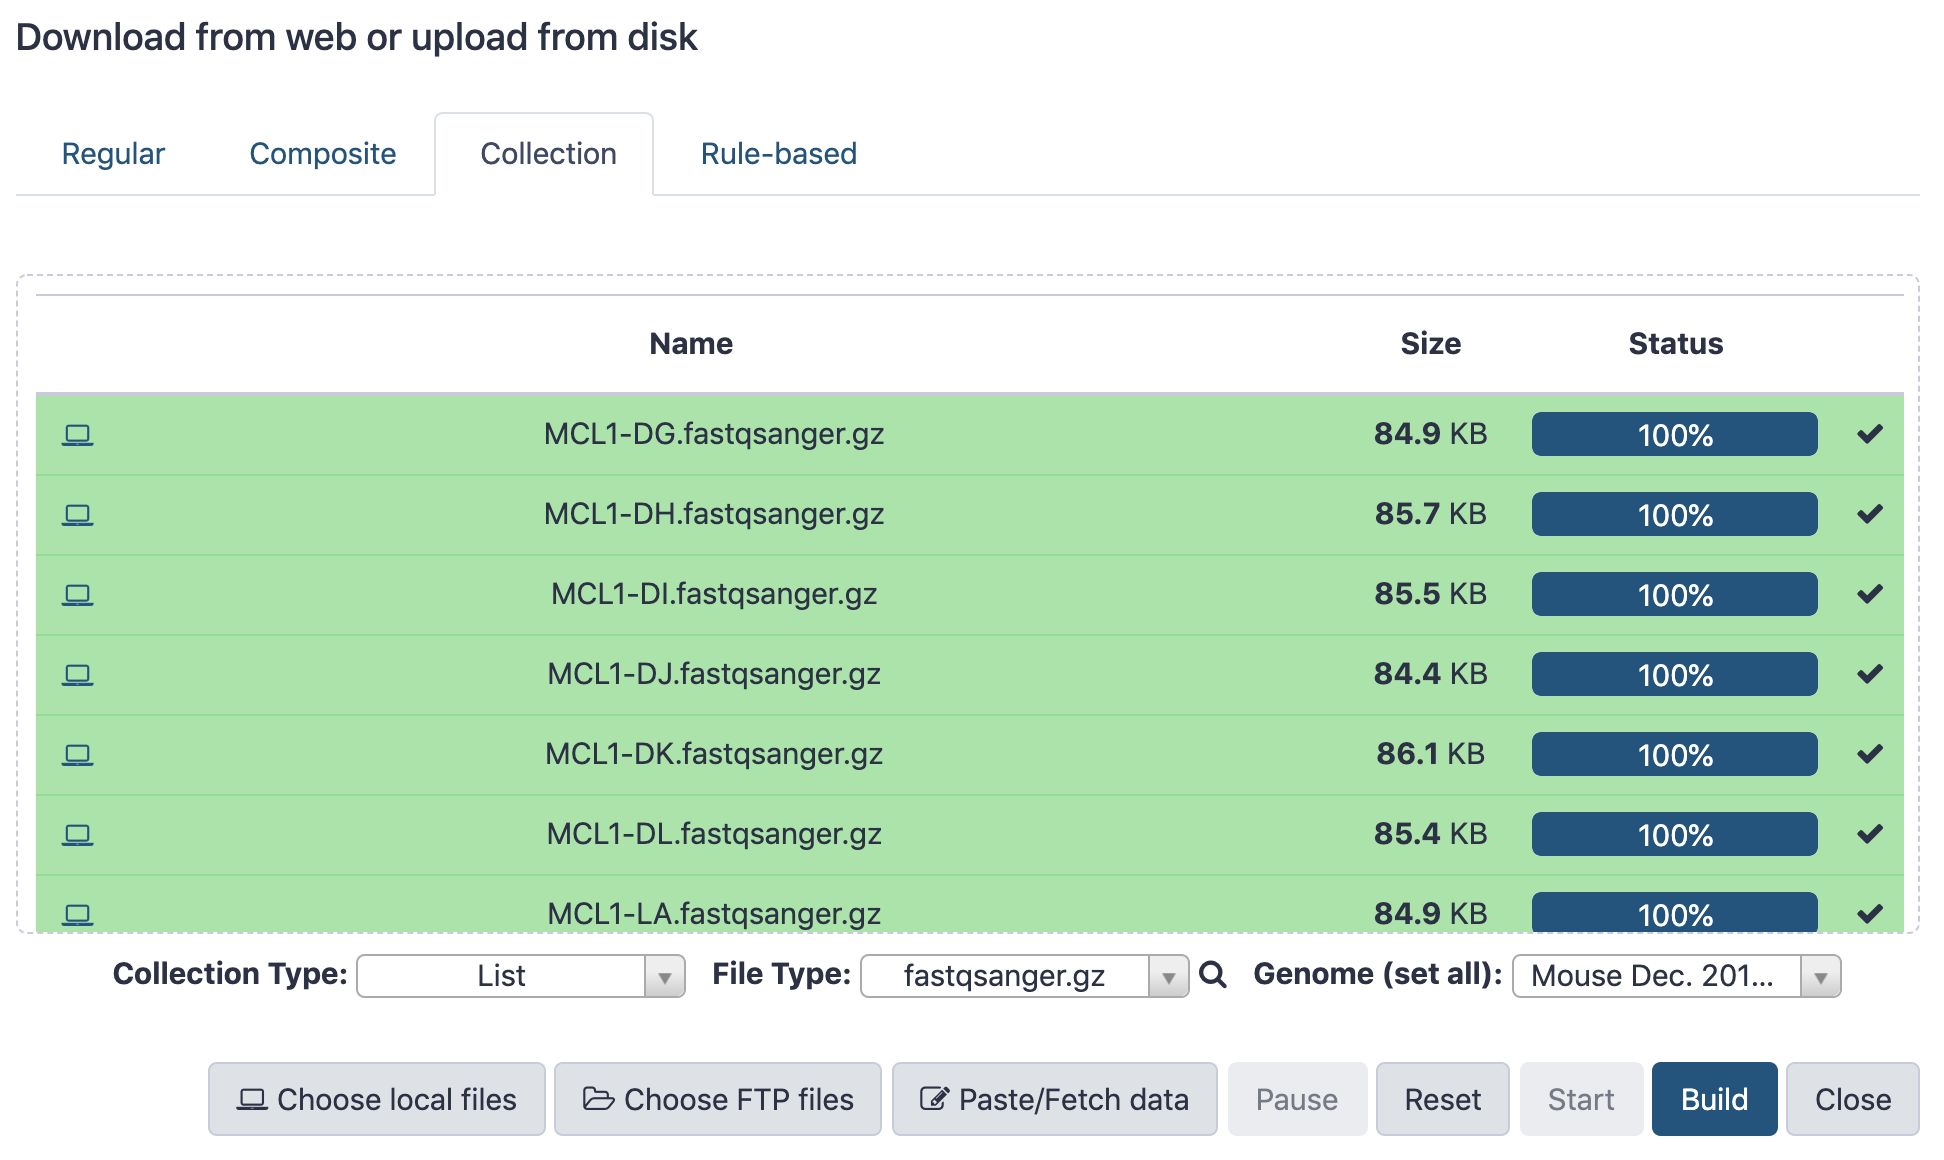
- Select Collection tab at top of upload menu
- Add files as before (upload from computer, paste/fetch, FTP)
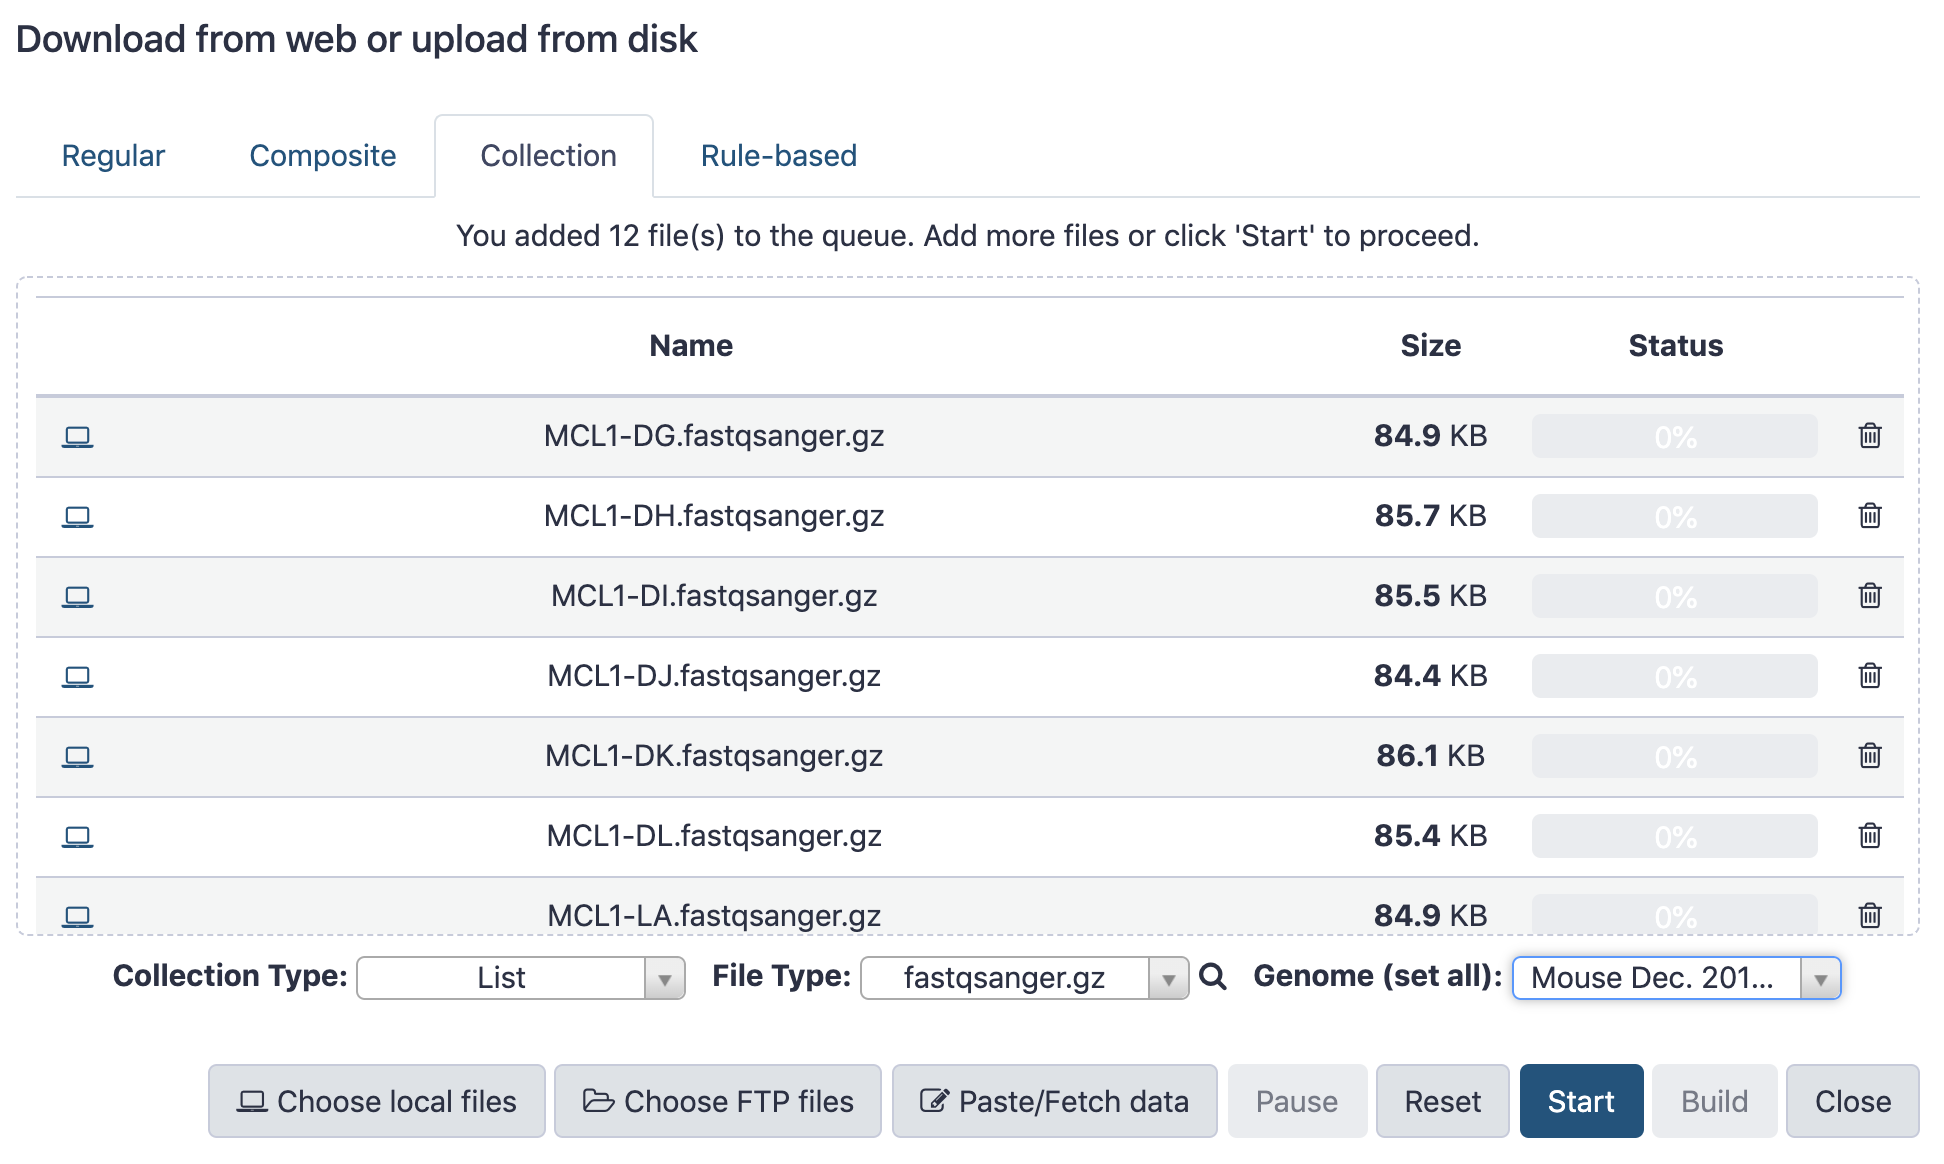
- Choose collection type (at bottom)
- Set metadata (file type, genome build)
- Click Build
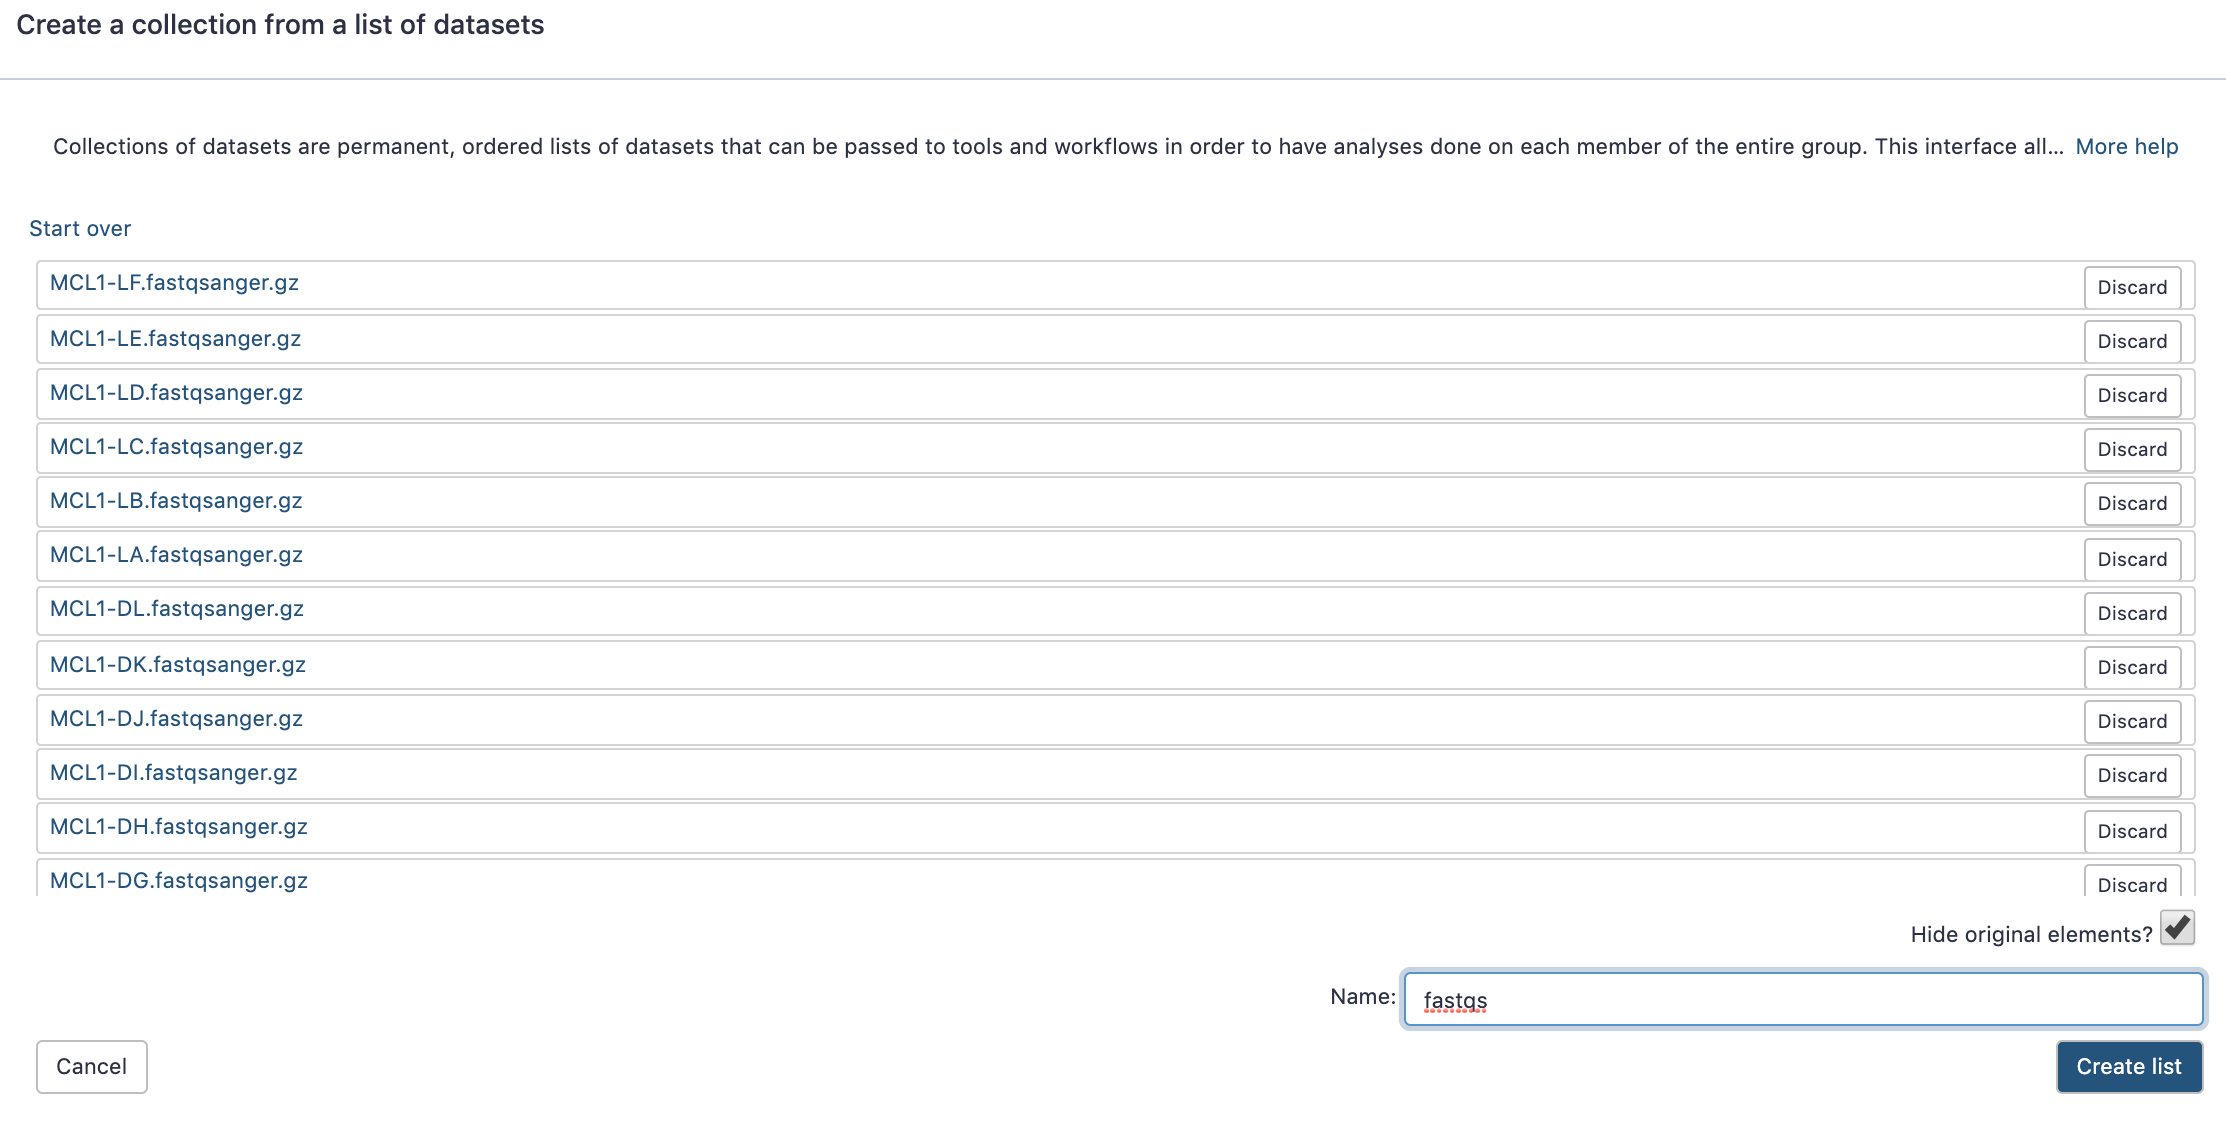
- Name your collection
- Click Create button

Go Up



 This brings up a box:


